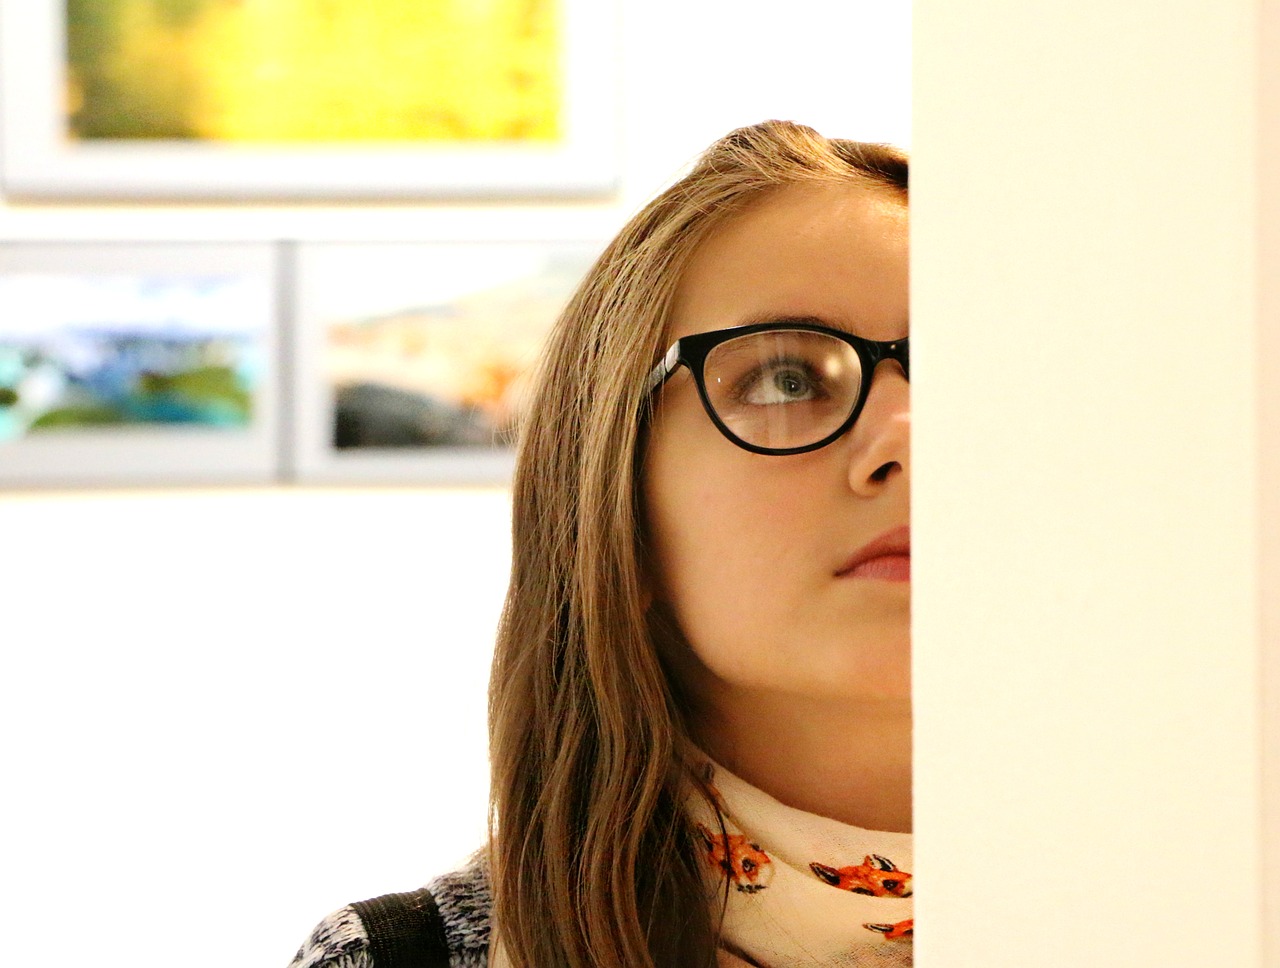
Exhibiting one’s art work at a art fair or art exhibition is an important part of being an artist. For art student art exhibitions displaying their work is not only a boost to their self-esteem to see their works on the art display panels and seeing others enjoy it, but planning for an exhibition is also a learning exercise in itself. If you’ve been tasked with organising a student art show, read on for some useful tips.
Student art display – make it inclusive
A successful student art display is one that includes works from the entire year or class. Everyone brings a unique perspective to their work; it can be surprising how differently each student will interpret the same subject or use the same medium.
Get all the art students involved in promoting the show. They can tell their families, post about it on social media, create and distribute fliers, put posters up around school/campus and really get a buzz going about the upcoming student art exhibition.
Choosing a subject or theme for your art student event.
The exhibition will be much more cohesive if all the artworks are inspired by the same subject or theme, for example:
- a type of art, e.g. portraiture, still life, landscape
- an artistic movement, e.g. Impressionism, Cubism, Surrealism
- a particular artist
- a particular location, e.g. the local town or countryside, or somewhere the students visited on an excursion.
- a particular medium, e.g. acrylic paints, chalk and pastels, mixed media
Even if you and your art students decide not to have an overall theme, it is still advisable to group their work into categories when it comes to displaying the art, and to clearly label those categories. This helps the viewers to easily identify the subject they’re interested in, and to present a coherent ‘story’, both within the category and when moving from one category to another. Using our temporary art display walls will show them off just like in a real art exhibition centre.
Find a space for your art display
Most schools and colleges have a hall, atrium or other large space which can be transformed into a temporary art gallery – simply hire some art display walls and have them set up in the space. Plain white walls are a safe option for any art display: they form a neutral background and will not ‘compete’ with the art for the viewer’s attention and the art display screens are also double sided so you can hang art both sides.
Hang the artworks
Once the temp walls are installed, it’s time to hang the art works. This is a great teaching point for art students, so each student should hang their own work. Encourage them to:
- Lay out their works on the floor first, before hanging them on the walls.
- Place their largest work first, then their smaller pieces.
- Consider the overall composition of their display, including colours, the relationships between individual pieces, the ‘journey’ the eye takes around the display.
- Remember the negative (empty) spaces between their works – the display will look better if they are evenly spaced apart. Our exhibition art walling will accept screws, nails or low tac tape.
See also our article on ‘How to hang your artwork for the optimum artist’s display’.
Educate and inform
Get the students to label each artwork with its title, the medium used, their name and class/year. It is also a good idea to have them describe how that piece relates to the theme or category, and what they learnt while creating it. This helps to engage the viewer and demonstrates the learning benefits of art, that it’s not solely a creative exercise.
If your exhibition is large, with lots of students displaying their work, consider making some signage to stick at the top of the temporary wall panels or a floor-plan to help visitors find their way around.
If you need temporary walling for a student art display, contact us for advice and a free quotation.
Grateful thanks to the following sites for the inspiration:
https://www.bartelart.com/arted/exhibitdesign.html
https://www.scholastic.com/teachers/top-teaching/2016/03/how-organize-amazing-art-show-your-school


