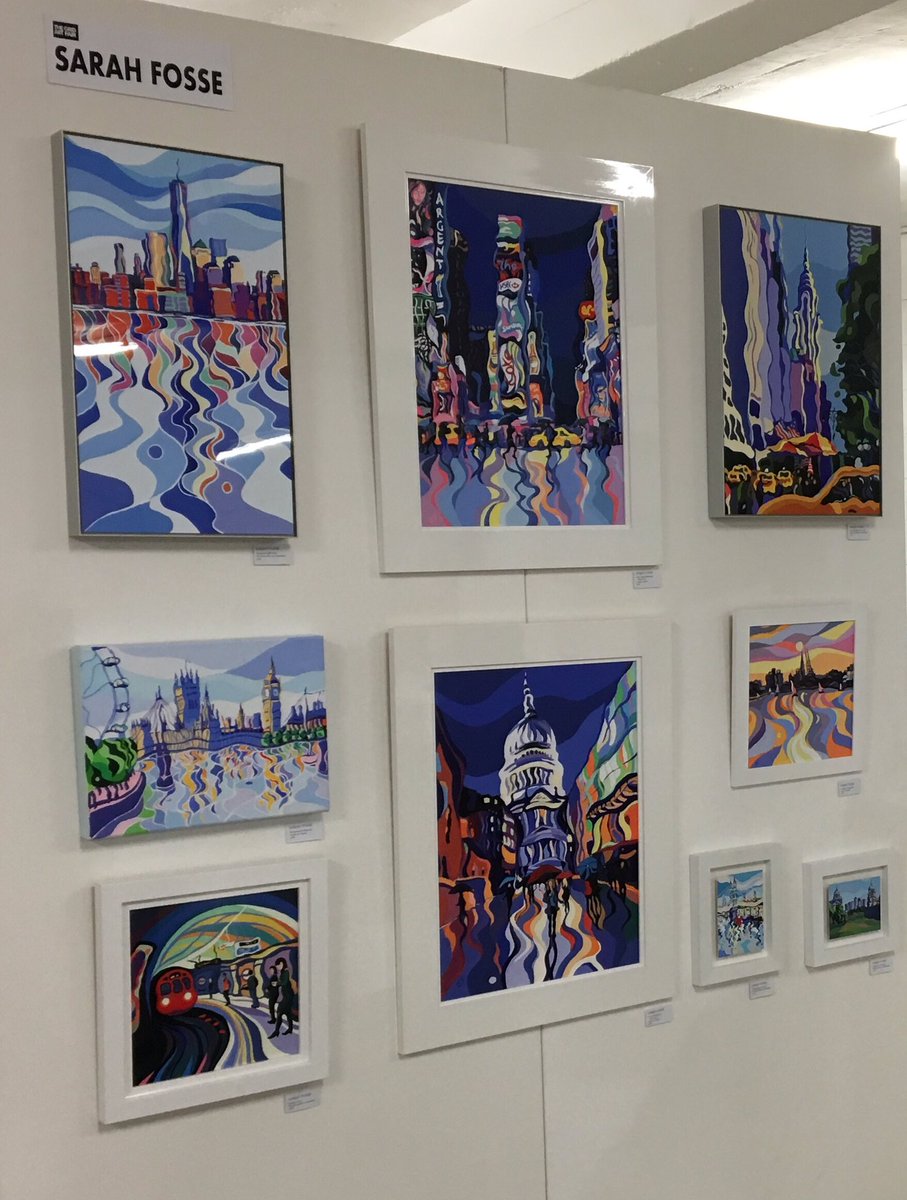
So you’re an artist or a art student and you’ve been asked to display some of your art work at a art exhibition or student art show, exhibition or pop-up gallery… Congratulations! But the hard work isn’t over just yet – you created these pieces; now you have to hang them, to display them on the art temporary walling to maximum advantage. Read on for tips on how to create the best artist’s display ever.
Artist’s display panels – Before the exhibition
- Measure and/or confirm the space you have been allocated for your art exhibition wall panels at the artist’s display
- Select and carefully wrap your pieces of art for transportation.
- Gather a collection of tools (hammer, screwdriver, Stanley knife) and other useful bits (e.g. picture hooks, screws, wire, Blu-Tak, etc). If you can beg or borrow a step-ladder as well, do so – it will come in handy, and you don’t have to share it with other exhibitors. Our art screens will accept screws nails or low tac tape or glue.
- Prepare small signs for each piece, listing its title, price and medium, and your name. The signs should look neat and professional and placed under each piece of artwork on the art dispaly panels.
Artist’s display – When you arrive
- Arrive as early as you can so you have plenty of time to consider the arrangement of the art exhibition stand, and move and change things if necessary.
- Unload and unwrap your artworks, and start to arrange them into groups that ‘belong’ together or simply look good next to each other. Just prop them up against the art display walls at this stage, don’t try to fix or hang them yet.
- When you’ve sorted your artworks into groups, take a step back and consider them from a distance before you hang them on the gallery display stand, It helps to have a friend or fellow artist on hand, to offer their opinion on whether your groupings ‘work’. Make any swaps or changes you feel necessary.
Artist’s gallery display – Hang your work
- It sounds obvious but be careful when handling your artwork. It’s easy to scratch, knock or drop your treasured creations, especially if you’re stressed or in a hurry.
- Wherever possible, hang your artwork at eye level. If you have limited space, prioritise your best/favourite/most important works and hang those at eye level, and hang your other works above and below them.
- This is where a willing assistant can be a great help – one of you can hold or hang each piece in place while the other steps back and checks that it is positioned correctly. It also saves you having to continually climb up and down your step ladder.
- Once all your artworks are hung and you’re happy with their placement, straighten any that need straightening and, if possible, adjust the lighting to best illuminate your masterpieces.
- Hang/place your little signs next to their corresponding pieces and boom you have your art exhibition ready to go.
- Art dispaly panel hire by EWC – Please contact us to see how we can help you.
That’s it! If you have time, take some photos of your arrangements before the art exhibition or student art fair opens and the place fills with people; you can use those shots as a guide for the next time you exhibit your work.
Available for sale or for hire, our artist’s display walls can transform the emptiest space into a stylish gallery in no time. We’ve supplied for various art shows, including the Grid Air Fair and FLUX Exhibition at the Old Truman Brewery and Colourtastic at The Story Museum (organised by Zuleika Gallery). For advice and prices, please contact us.
Grateful thanks to https://drawpj.com/how-to-hang-an-art-exhibition/ for the inspiration.


